

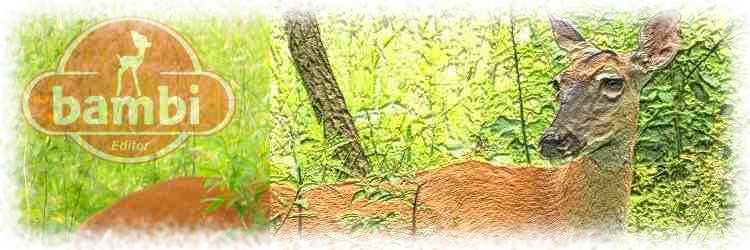


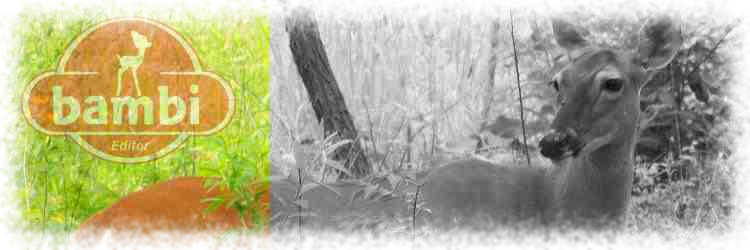


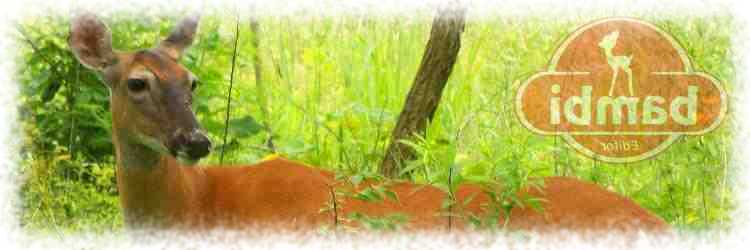
Experience. Bambi-Editor. Magic.


Which is right for You?
With every release, Bambi-Editor comes in two editions. Both always free, of course. While Desktop edition comes pre-compiled and ready for download, Web Start edition, due to its very nature of being closely personalized for deployment to a specific URL (JNLP configuration & keytool digital signature), must always be compiled from source.

Version 0.9.2 BETA Released
The Bambi Editor development team is pleased to announce version 0.9.2! This release was bit unplanned so it came sooner than anticipated! While configuring Bambi for a first commecial deployment, we identified and addressed practical shortcomings. Before we knew it we had another release. The development team has been busy in the past year with other (related) projects, but major improvements to Bambi Editor are still in serious plans as is the long awaited version 1.0! Enjoy :)1 2 3 4 | - Introduction of Home toolbar button which allows to switch between Home view vs. Current (Cam or Image) view.- Improvements to authentication dialog (positioning, field indexing).- Web Start optimizations and bug fixes! |
posted 05/09/14 by mrazjava
Gone are the days ...
of drifting through the vast wilderness of Internet woods, hunting for your perfectly powerful image uploader; one that's free and easy on your end users... Bambi-Editor can blend into any website with minimal configuration!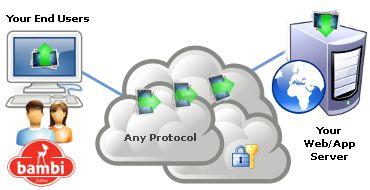 It is designed around a plugin architecture so it can be
extended. It supports industry-strength encryption (RSA, MD5, SHA),
image printing & filter transformations, web cam support, and more.
Best of all, it runs on all major platforms.
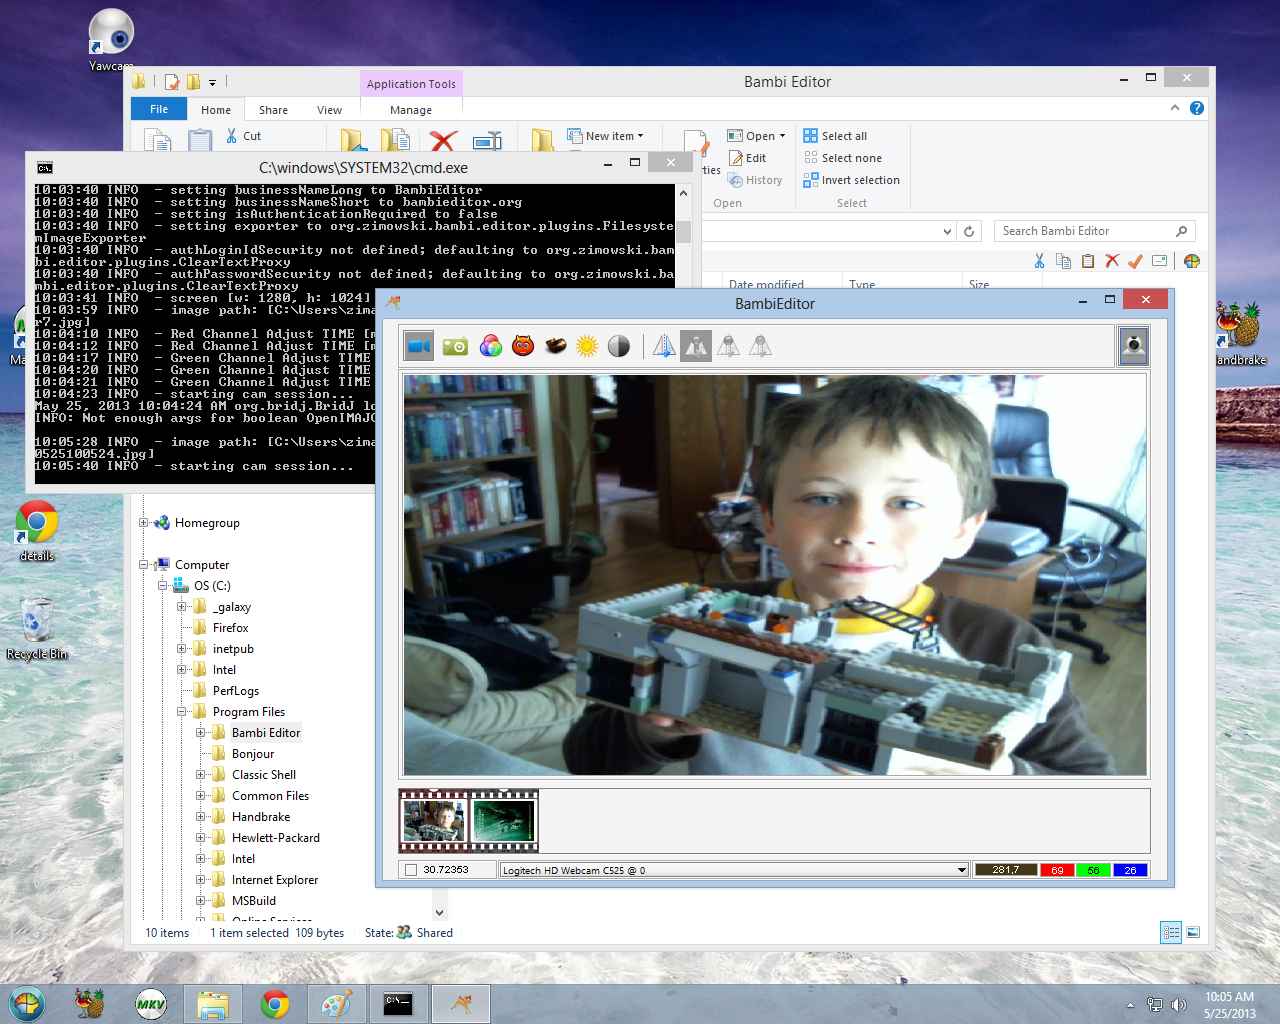
Here, you can try Bambi-Editor as a live demo (Java Web Start) and see for yourself how it crops and uploads
images. Since your end users typically upload photos
to their web accounts, you will need an account with us as well
(just for the purposes of the demo). You can put fake email
if you wish, we don't use it for anything other than to give
Bambi illusion of authentication.
It is designed around a plugin architecture so it can be
extended. It supports industry-strength encryption (RSA, MD5, SHA),
image printing & filter transformations, web cam support, and more.
Best of all, it runs on all major platforms.
Here, you can try Bambi-Editor as a live demo (Java Web Start) and see for yourself how it crops and uploads
images. Since your end users typically upload photos
to their web accounts, you will need an account with us as well
(just for the purposes of the demo). You can put fake email
if you wish, we don't use it for anything other than to give
Bambi illusion of authentication.Login or Register to get started.
Desktop Edition
Bambi-Editor is great in a desktop mode! Because of Bambi's flexible plugin architecture, the image export plugin used in desktop edition is saving
a file to your computer rather than uploading it to
the Internet. So if you want Bambi-Editor for your own personal use, feel
free to download it.
We pride ourselves in providing quality, malware free,
open source software and our efforts have been recognized
by third parties. Softpedia, for instance,
certified
Bambi-Editor as 100% safe and junk free product.
edition is saving
a file to your computer rather than uploading it to
the Internet. So if you want Bambi-Editor for your own personal use, feel
free to download it.
We pride ourselves in providing quality, malware free,
open source software and our efforts have been recognized
by third parties. Softpedia, for instance,
certified
Bambi-Editor as 100% safe and junk free product.
 Share Your Story!


 Copyleft 2010 - 2025 Bambi-Editor